Chef Emma here, and I’m about to share the party hack that saved me when I ran out of time before my son’s Pokémon birthday!
Sometimes life gets busy, and elaborate cake decorating just isn’t happening. That’s when I discovered that Pokémon cupcake toppers can transform plain store-bought cupcakes into themed masterpieces in minutes. No frosting skills required, no artistic talent needed—just print, cut, and stick!
The first time I used cupcake toppers, I felt a bit like I was “cheating” at party planning. But when I saw how excited the kids were and how impressed the other parents looked, I realized that smart shortcuts are actually brilliant planning. The cupcakes looked professionally decorated, the party felt cohesive and themed, and I had energy left to actually enjoy the celebration with my son.
What makes these easy DIY toppers so brilliant is how they solve multiple problems simultaneously. They’re budget-friendly (often free if you print at home), customizable to your exact party theme, and forgiving for non-crafty moms like me. Plus, they work with any cupcakes—homemade, bakery-bought, or even store brand!
Whether you want simple printable Pokémon images on toothpicks or more elaborate 3D fondant Poké Balls, there’s a topper option that matches your time, budget, and skill level. The best part? Kids never know (or care) that you took the shortcut—they just see their favorite Pokémon characters on their cupcakes!
For creative topper inspiration, check out Carrie Elle’s printable Pokémon cupcake toppers, or explore Ribbons and Glue’s DIY Pokémon party decorations that make any celebration special.
Table of Contents
Table of Contents
Types of Pokémon Cupcake Toppers
Printable Paper Toppers (Easiest!)
What they are: Images printed on cardstock and attached to toothpicks or lollipop sticks
Time required: 15-30 minutes for 24 toppers
Best for: Last-minute parties, tight budgets, non-crafty parents
Pros: Free or cheap, countless design options online, no special skills needed
Cons: Not edible, can get soggy if cupcakes are very moist
Fondant Toppers
What they are: 3D decorations shaped from fondant or modeling chocolate
Time required: 1-2 hours for 24 toppers (with drying time)
Best for: Advanced crafters, show-stopping presentation
Pros: Completely edible, professional look, can be made days ahead
Cons: Requires fondant working skills, takes more time
 (3)")
Edible Image Toppers
What they are: Printed images on edible paper with food coloring
Time required: 5-10 minutes (if ordered pre-printed)
Best for: People who want printed look but fully edible
Pros: Edible, professional appearance, easy to apply
Cons: Must be ordered ahead or requires special printer/paper
Pick-Style Character Toppers
What they are: Small plastic Pokémon figures or picks inserted into cupcakes
Time required: 2 minutes
Best for: Ultimate quick solution, reusable decorations
Pros: Instant, reusable, kids can keep them as party favors
Cons: Need to purchase, may not match exact party colors
How to Make Printable Pokémon Cupcake Toppers
Supplies Needed
- Computer with printer
- Cardstock or heavy paper
- Scissors or circle punch (2-2.5 inch)
- Toothpicks or lollipop sticks
- Glue stick or tape
- Optional: Laminating sheets for durability
Step-by-Step Instructions
Step 1: Find or Create Images
Search online for “free printable Pokémon cupcake toppers” or create your own using:
- Pokémon images from official sites
- Canva templates
- Etsy digital downloads (instant access)
- Free printable sites
Step 2: Size and Print
Adjust images to 2-2.5 inches diameter to fit standard cupcakes. Print on cardstock for sturdiness. Print two copies if you want double-sided toppers!
Step 3: Cut Out
Use scissors to cut around images, or use a circle punch for perfectly uniform circles. A 2-inch circle punch makes this step effortless!
Step 4: Assemble
Apply glue stick to back of image. Place toothpick or lollipop stick in center with about 1 inch sticking up above the topper. If making double-sided, glue second image on back.
Step 5: Let Dry
Allow glue to dry completely (10-15 minutes) before inserting into cupcakes.
Step 6: Insert into Cupcakes
Push topper stick into center of frosted cupcake until secure. Done!
Easy Pokémon Character Toppers
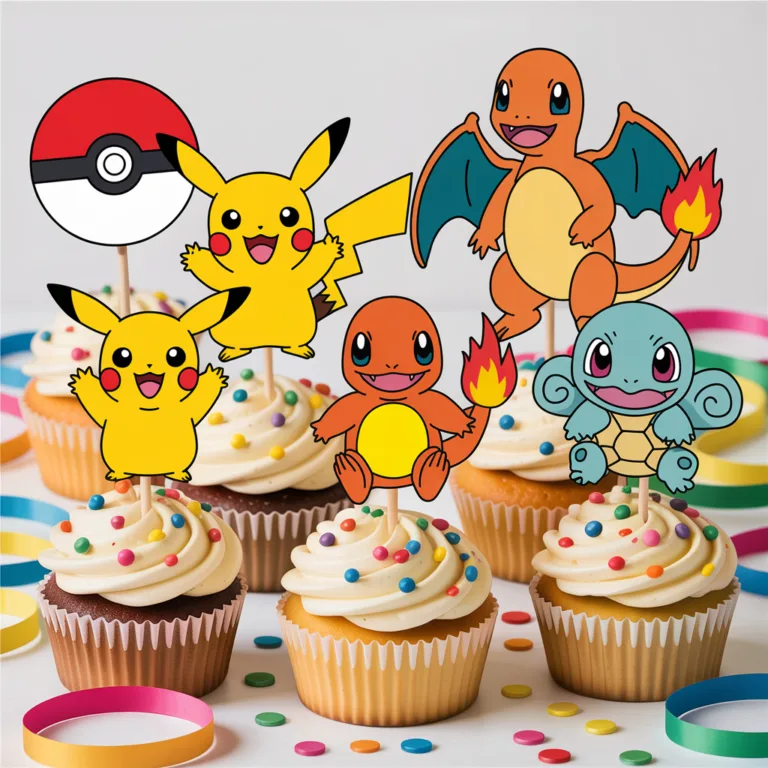
Pikachu Toppers
Design: Yellow circle with black eyes, red cheeks, W-shaped smile
Quick version: Print yellow circles, use black marker for features, red marker for cheeks
Elevated version: Layer yellow paper ears on top of circle for 3D effect
Poké Ball Toppers
Design: Circle divided red/white with black stripe and center button
Quick version: Print pre-designed Poké Ball images
DIY version: Cut red and white half-circles, glue together, add black stripe cut from paper
Starter Pokémon Set
Charmander: Orange circle with flame detail
Squirtle: Blue circle with shell pattern
Bulbasaur: Green circle with plant bulb on back
Mix and match: Use all three for variety!
Simplified Character Silhouettes
What they are: Black silhouettes of recognizable Pokémon
Why they work: Instantly recognizable, easy to cut, looks sophisticated
Best characters: Pikachu, Charizard, Mewtwo, Snorlax
Fondant Poké Ball Toppers Tutorial
Supplies Needed
- White, red, and black fondant
- Rolling pin
- Cornstarch for dusting
- Large and small circle cutters
- Water or edible glue
- Fondant smoother (optional)
 (1)")
Instructions
Step 1: Roll out white fondant and cut large circles for base
Step 2: Roll red and white fondant, join side-by-side, cut circles that are half red/half white
Step 3: Attach half-circles to white base circles with water
Step 4: Roll black fondant thin, cut into strips for middle band
Step 5: Apply black stripe across center where red meets white
Step 6: Cut small black circle and even smaller white circle for button. Stack and attach to center
Step 7: Let dry 2-3 days before using
Budget-Friendly Topper Ideas
Free Printable Resources
Search these terms:
- “Free printable Pokémon cupcake toppers”
- “Pokémon party printables free”
- “Poké Ball cupcake topper template”
Many bloggers offer free downloads for personal use!
Dollar Store Hacks
- Buy plastic Pokémon toys, hot glue to toothpicks
- Use Pokémon stickers on circles cut from cardstock
- Purchase Pokémon-themed pencil toppers and insert into cupcakes
Repurpose Party Supplies
- Cut images from Pokémon napkins or plates
- Use Pokémon trading cards on sticks (kids will fight over these!)
- Laminate images from coloring books
DIY with Basic Craft Supplies
- Yellow cardstock circles + black marker = Pikachu faces
- Red and white paper half-circles = Poké Balls
- Color and cut free coloring page images
Time-Saving Tips
Make Ahead
Paper toppers can be made weeks in advance and stored flat in a folder. Fondant toppers should be made 2-3 days ahead to fully harden.
Batch Production
Set up assembly line:
- Station 1: Print and cut
- Station 2: Glue sticks
- Station 3: Let dry
Make 30+ at once—extras can be saved for next party!
Buy Pre-Made
Sometimes the $10-15 for pre-made toppers is worth it! Check:
- Etsy (instant digital downloads)
- Amazon (shipped sets)
- Party supply stores
- Walmart party section
Simplify Designs
The simpler the design, the faster they go. Plain Poké Ball circles take 1 minute each. Detailed Charizard faces take 5+ minutes each.
Matching Toppers to Cupcake Flavors
Yellow Cupcakes + Pikachu Toppers
Lemon or vanilla cupcakes with yellow frosting = perfect Pikachu theme!
Chocolate Cupcakes + Any Toppers
Chocolate works with all Pokémon—rich and universally loved.
Red Velvet + Poké Ball Toppers
The red cake inside matches the Poké Ball theme perfectly!
Funfetti + Starter Pokémon
Colorful sprinkle cupcakes pair well with Charmander, Squirtle, Bulbasaur variety.
Strawberry + Pink Pokémon
Jigglypuff or Clefairy toppers match pink frosted strawberry cupcakes.
Topper Placement and Presentation
Center Placement
Most common—one topper directly in center of cupcake, pushed down into frosting about ½ inch.
Off-Center Angled
Slightly off-center with topper angled creates dynamic, professional look.
Multiple Small Toppers
Use 2-3 smaller toppers per cupcake for more visual interest.
Height Variation
Alternate tall and short sticks to create varied heights across cupcake display.
Cupcake Stand Arrangement
Arrange cupcakes by character or color for organized, striking presentation.
Storage and Transport Tips
Storage Before Party
Store topped cupcakes in cupcake carriers or large containers. Keep cool but not refrigerated if possible (cold makes condensation that can wilt paper toppers).
Transporting
- Use cupcake carriers with individual slots
- Insert toppers at party location if possible
- If inserted before transport, ensure sticks are secure
- Keep vehicle cool but don’t store in hot trunk
At the Party
Display on tiered cupcake stands for maximum impact. Keep out of direct sunlight which can fade printed toppers.
FAQ About Pokémon Cupcake Toppers
How far in advance can I make paper toppers?
Weeks or even months! Store flat in folder or envelope in cool, dry place. They don’t expire!
Will paper toppers get soggy?
If frosting is very wet or cupcakes are extremely moist, they might soften slightly. Insert just before serving, or use laminated toppers for better durability.
Can I make my own edible image toppers at home?
Yes, with an edible printer and frosting sheets! However, these printers are expensive. More cost-effective to order pre-made if you only need them once.
What size should toppers be?
2 to 2.5 inches diameter works perfectly for standard cupcakes. Mini cupcakes need 1 to 1.5 inch toppers.
How do I attach toppers to cupcakes?
Push toothpick or stick down into cupcake about ½ to ¾ inch. Should be secure but removable before eating.
Are store-bought plastic picks reusable?
Yes! Wash with soap and water, dry completely, and store for future parties or let kids keep as party favors.
 (2)")
Conclusion
Simple Pokémon cupcake toppers prove that impressive party desserts don’t require professional baking skills or hours of decorating time. With just printable images and toothpicks—or even easier, pre-made picks—you can transform plain cupcakes into themed treats that wow kids and adults alike.
The beauty of cupcake toppers is how they democratize party planning. Whether you’re crafty or not, have hours or minutes, a big budget or tiny one, there’s a topper solution that works for you. The end result looks equally impressive regardless of which method you choose!
These easy DIY toppers have become my secret weapon for stress-free party planning. Instead of staying up until midnight decorating elaborate cakes, I buy good cupcakes and spend 20 minutes making or applying toppers. The kids are just as thrilled, and I’m not exhausted!
So grab that printer (or that pack of plastic picks from the party store), and get ready to create the easiest, most impressive cupcake display ever. Your little Pokémon trainer will love them, and you’ll love how simple they were!
Blog and Social Links Footer
For more recipes: famillyrecipes.com
Follow me on Facebook and Pinterest